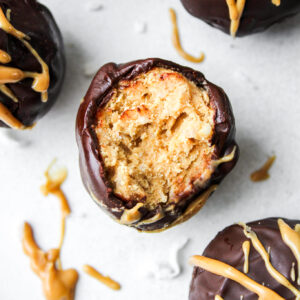
Chocolate and Peanut Butter Protein Balls
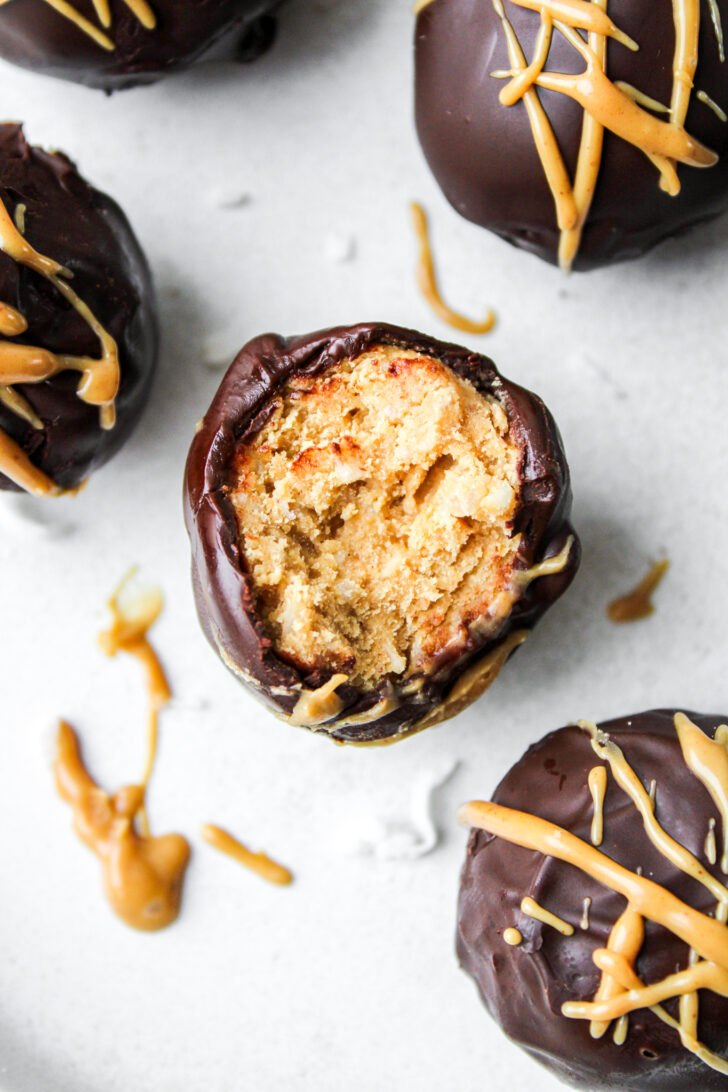
These Chocolate and Peanut Butter Protein Balls are the perfect mix of sweet and salty, plus a smooth chocolate coating with a crunchy inside! With only 8 ingredients, this easy-to-make recipe will be your new favourite snack!
This blog post contains recommended product links. As an Amazon Associate I earn from qualifying purchases.
Why you should make these Chocolate and Peanut Butter Protein Balls
If you’re looking for the perfect grab-and-go snack that satisfies both your sweet tooth and your hunger, these Chocolate and Peanut Butter Protein Balls are exactly what you need. With a crunchy filling and a super smooth chocolate coating, they deliver that irresistible texture contrast that makes each bite a little moment of joy.
The classic combination of rich chocolate and creamy peanut butter never disappoints, and here it’s elevated with a nourishing twist.
Made with just 7 simple ingredients, these energy balls are oat-free, making them a great option for those with sensitivities or simply looking for something a little different. Packed with protein to help fuel your day, they’re ideal as a post-workout boost or afternoon pick-me-up.
They can be stored in the fridge or freezer, so you can prepare a batch ahead of time and always have a delicious snack on hand.
So whether you’re meal prepping for the week or just want a protein-rich dessert option, these freezer-friendly, healthy, no bake protein balls offer convenience and ease!
Ingredients needed
Here’s what you need to make these Chocolate Peanut Butter Protein Balls:
- Creamy peanut butter
- Vanilla protein powder
- Rice Krispies
- Shredded coconut, sweetened or unsweetened
- Coconut oil
- Maple syrup
- Chocolate chips
Substitutions
If you don’t have the specific ingredients listed above or you’re interested in making some substitutions, here are my recommendations:
- Natural peanut butter
- I use regular peanut butter in this recipe but a natural or organic option would work as well. You may need to add 1-2 tbsp of water for the dough to roll better if the nut butter is too dry.
- Alternative nut or seed butter
- Instead of peanut butter, you can also try different types of nut or seed butter if you prefer. For example, almond or cashew butter.
- Chocolate protein powder
- If you want a super chocolatey flavour throughout each bite, try using a chocolate protein powder instead of vanilla.
- Honey or alternative liquid sweetener
- Use either of these if you prefer it over maple syrup.
- If your protein powder is already sweetened, you may not need to add a sweetener at all. It’s up to you and your preference.
- Mini chocolate chips (white, milk, semi-sweet or dark)
- The chocolate chips will be melted for the outer coating, so use whatever size and type of the added chocolate you want or have.
Third-party tested protein powder
I recommend choosing a third-party tested product, which ensures that what is on the package label is actually in the product. Look for either the NSF or Informed Choice logo to verify it’s third-party tested.

How to make Chocolate and Peanut Butter Protein Balls
These peanut butter chocolate protein bites are quite fun to make! Here’s how to do it:
- In a large bowl mix together the peanut butter, melted coconut oil and maple syrup until smooth.
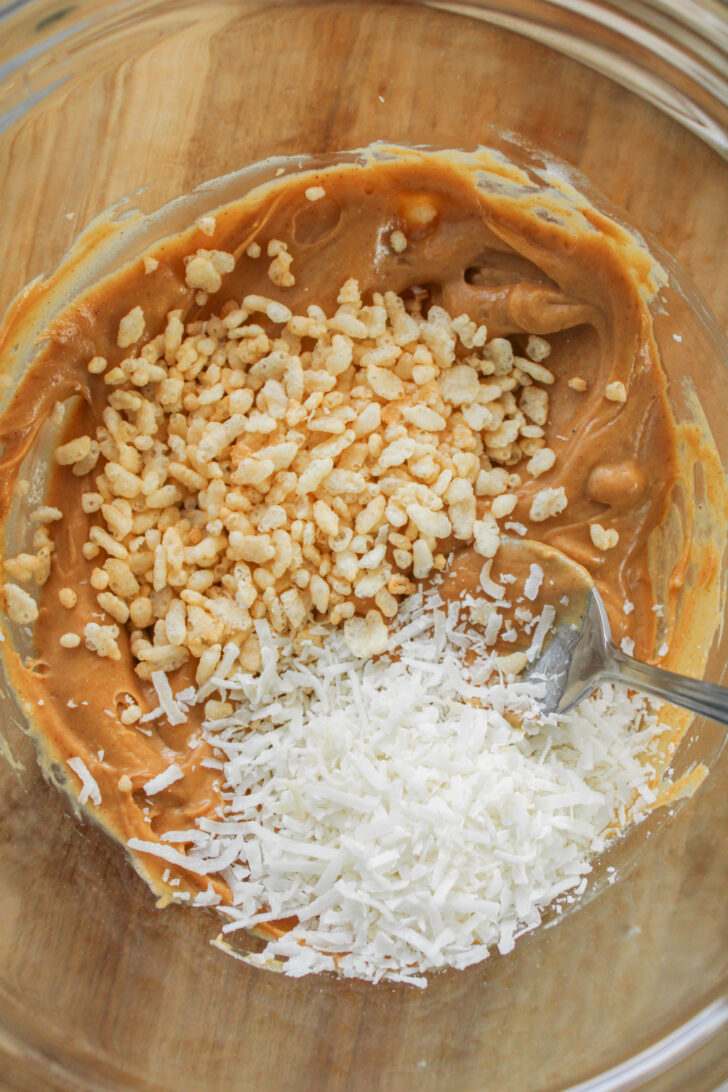
- Then add in the protein powder, Rice Krispies and shredded coconut and stir until the dough is well combined. If the dough isn’t combining and rolling smoothly, add 1 tbsp of water to the dough and mix well again.
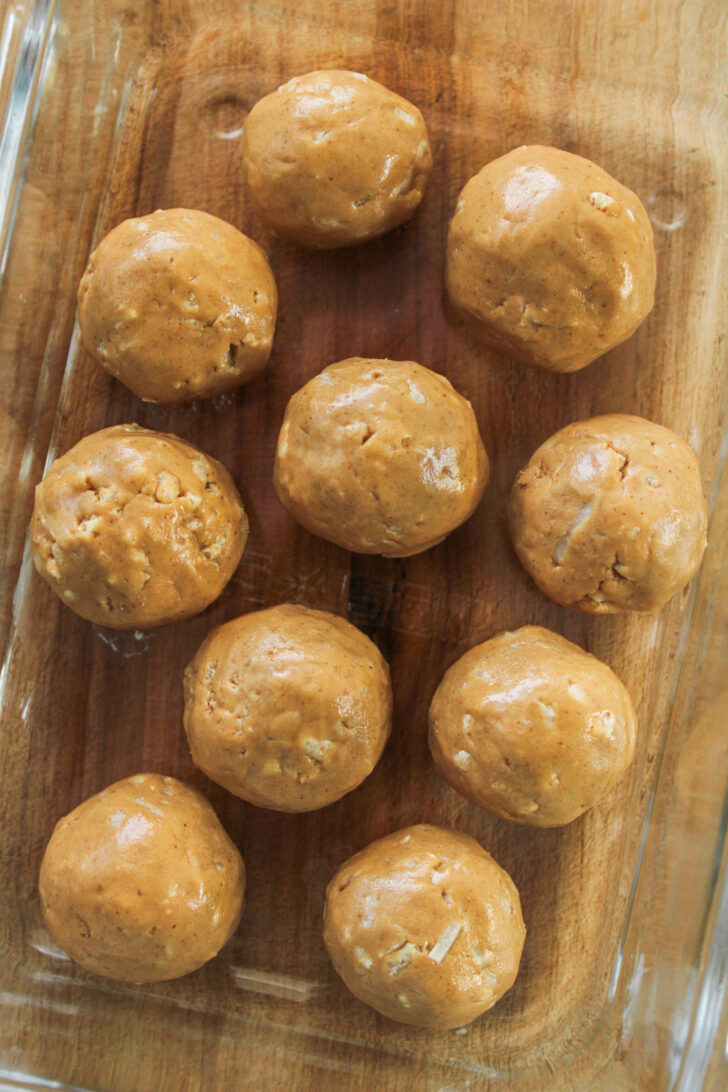
- Using a small cookie scoop or spoon, scoop out about 1 tbsp of the mixture and roll into a ball. Place on a plate or baking tray lined with parchment paper. Continue with the remaining dough until it is all rolled into balls. Place the protein balls in the freezer for about 10 minutes so they can harden slightly.
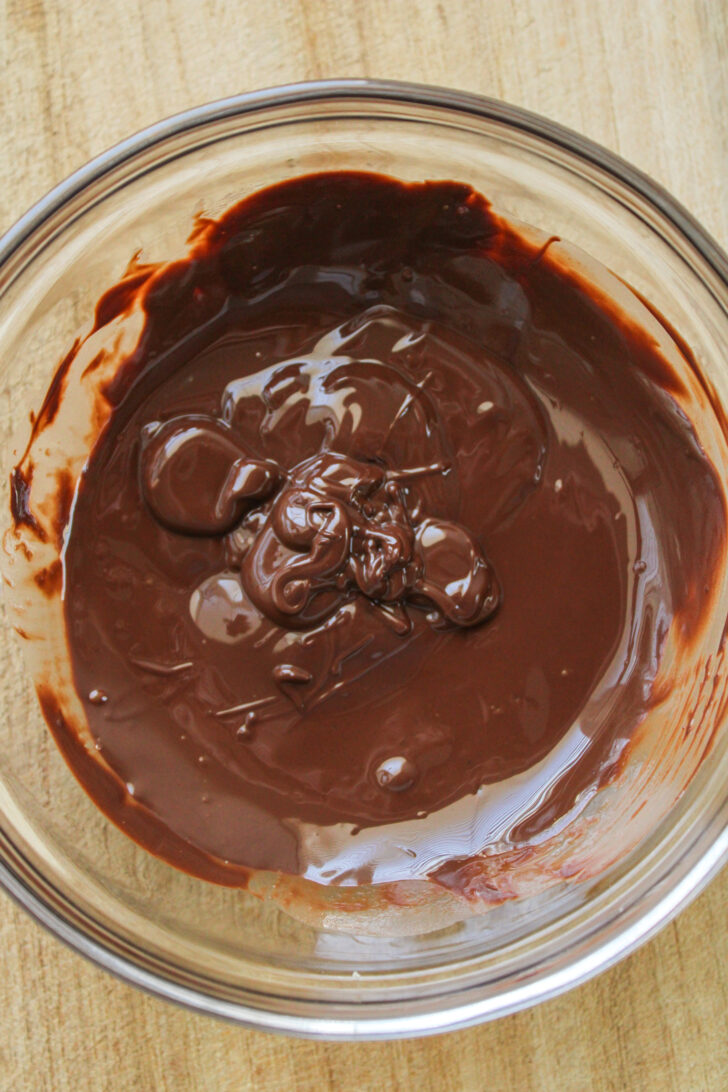
- While the balls are in the freezer, make the chocolate coating. In a small, microwaveable bowl, add the chocolate chips and coconut oil. Microwave in 20 second intervals, stirring in between each, until it is melted and smooth. The coconut oil helps to create a crunchy outer layer once the chocolate solidifies.
- Time to prepare your coating station. You can use a plate or baking tray lined with parchment paper. Alternatively, place a piece of parchment paper under a baking cooling rack.
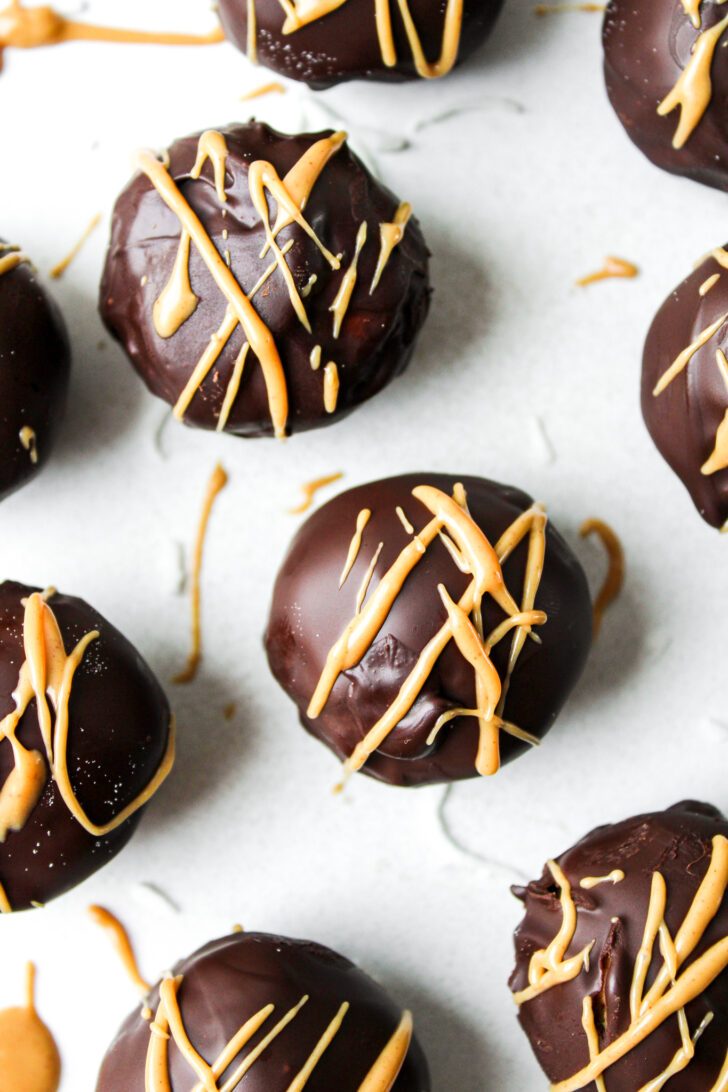
- Drop the hardened protein ball into the melted chocolate and roll it around with a fork, spoon or toothpick until it is evenly coated in the chocolate. Gently remove it from the chocolate, scrape off any excess and place it on a plate, tray or rack. Repeat with the remaining balls.
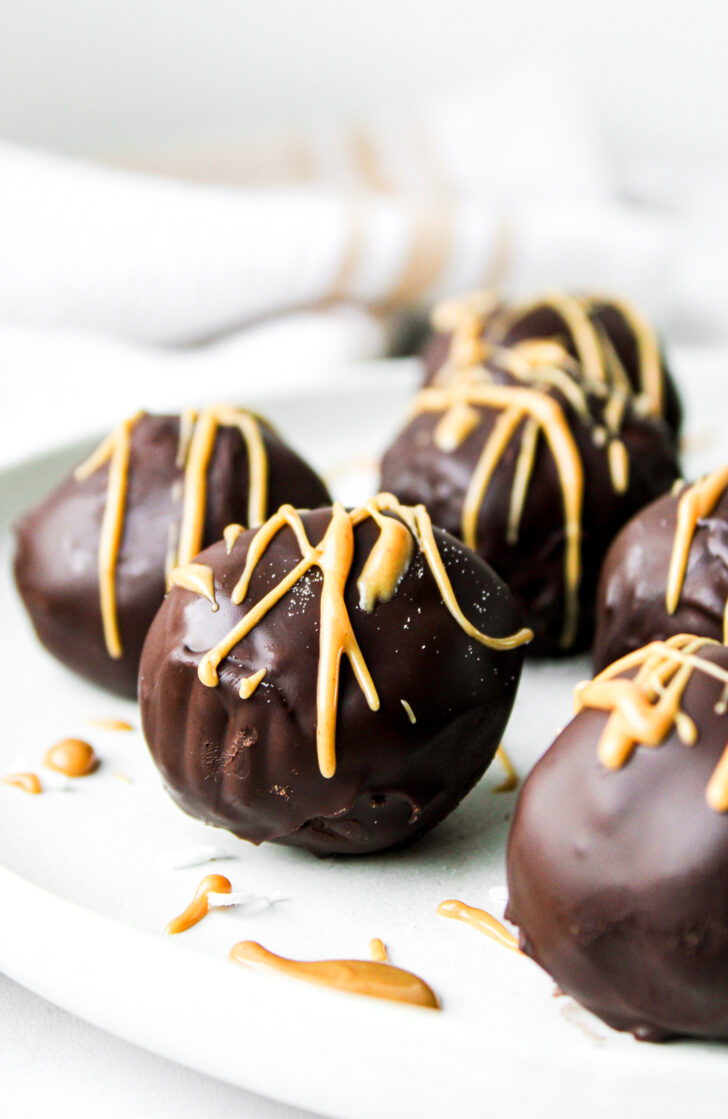
- Feel free to add a drizzle of melted peanut butter or a sprinkle of sea salt on top.
- Place the coated protein balls in the freezer or fridge for an additional 10-20 minutes, or until the chocolate has hardened. See below for additional storage tips and enjoy!
How to store these protein balls
Once the protein balls are made, store them in an airtight container or freezer bag in the fridge or freezer. They will stay in the fridge for up to a week and in the freezer for up to 3 months.
When you’re ready to eat them, remove from the freezer and allow them to rest at room temperature for 5 minutes or until slightly thawed. If you take them out of the fridge, they can be enjoyed right away.
Nutrition
My goal is to encourage a more joyful, intuitive relationship with food, focusing on flavor and satisfaction rather than numbers. Because of this, I don’t normally calculate the calories of my recipes. Caloric amounts can also be inaccurate due to variations in ingredients and portions. However, I do like to highlight the beneficial nutrients that my recipes provide.
This recipe makes about 10 chocolate peanut butter balls, depending on their size. Each ball provides roughly*:
- 7 grams of protein
- 13 grams of fat
- 2 grams of fibre
- A significant source of vitamin E
- A variety of B vitamins and minerals such as iron, manganese, magnesium, zinc and more!
*This information will vary considerably depending on the type of protein powder used and the size of the protein balls.
Dietary considerations
These protein balls are naturally vegetarian. Here are some suggested adjustments to meet other dietary needs:
- Gluten free: opt for a gluten-free puffed rice instead of Rice Krispies and ensure your protein powder is certified gluten free.
- Dairy free: use dairy-free chocolate chips.
- Nut free: use a seed butter instead of peanut butter.
- Vegan: opt for plant-based protein powder and vegan chocolate chips.
If you make these Chocolate and Peanut Butter Protein Balls I would love to see your comment and rating below. It also makes my day seeing your creations of my recipes on Instagram – don’t forget to tag @allnutritionkitchen!
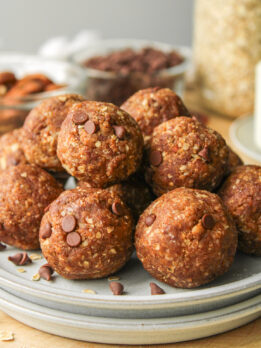
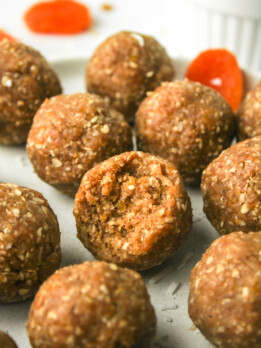
More protein ball recipes!
Chocolate and Peanut Butter Protein Balls
Ingredients
- ½ cup creamy peanut butter
- ⅓ cup protein powder, unflavoured or vanilla
- ¼ cup Rice Krispies, or other puffed rice cereal
- ¼ cup shredded coconut, sweetened or unsweetened
- 1 tbsp coconut oil, melted
- 1 tbsp maple syrup
Chocolate coating
- ½ cup chocolate chips
- 1 tsp coconut oil
Instructions
- In a large bowl mix together the peanut butter, coconut oil and maple syrup until smooth.
- Add in the protein powder, Rice Krispies and shredded coconut and stir until well combined. If the dough isn't rolling smoothly, add 1 tbsp of water to the dough and mix well.
- Using a small cookie scoop or spoon, scoop out about 1 tbsp of the mixture and roll into a ball. Place on a plate or baking tray lined with parchment paper. Roll the remaining dough into balls. Place them in the freezer for 10 minutes to harden slightly.
- While the balls are in the freezer, make the chocolate coating. In a small, microwaveable bowl, add the chocolate chips and coconut oil. Microwave in 20 second intervals, stirring in between each, until it is melted and smooth.
- Prepare your coating station. You can use a plate or baking tray lined with parchment paper. Alternatively, place a piece of parchment paper under a baking cooling rack.
- Drop the hardened ball into the melted chocolate and roll it around with a fork or spoon until it is evenly coated in chocolate. Gently remove it from the chocolate, scrape off any excess and place it on a plate, tray or rack. Repeat with the remaining balls.
- Optional: add a drizzle of melted peanut butter or a sprinkle of sea salt on top.
- Place the coated protein balls in the freezer or fridge for an additional 10-20 minutes, or until the chocolate has hardened. Enjoy!
Notes
Substitutions
- Natural peanut butter
- I use regular peanut butter in this recipe but a natural or organic option would work as well. You may need to add 1-2 tbsp of water for the dough to roll better if the nut butter is too dry.
- Alternative nut or seed butter
- Instead of peanut butter, you can also try different types of nut or seed butter if you prefer. For example, almond or cashew butter.
- Chocolate protein powder
- If you want a super chocolatey flavour throughout each bite, try using a chocolate protein powder instead of vanilla!
- Honey or alternative liquid sweetener
- Use either of these if you prefer over maple syrup.
- If your protein powder is already sweetened, you may not need to add this at all. It’s up to you and your preference.
- Mini chocolate chips (white, milk, semi-sweet or dark)
- Feel free to play around with the size and type of the added chocolate.
Dietary considerations
These protein balls are naturally vegetarian.- Gluten free: opt for a gluten-free puffed rice instead of Rice Krispies and ensure your protein powder is certified gluten free.
- Dairy free: use dairy-free chocolate chips.
- Nut free: use a seed butter instead of peanut butter.
Thanks so much for sharing this recipe! I work at BEC and been spending all my salary in these balls haha can’t wait to try making them myself
Thanks so much for trying them Mari! I hope they live up to the real deal for you!